SnappyHexMesh: Layer Settings
SnappyHexMesh Features a number of cryptically named layer addition settings, with little indication of how they might be expected to influence the layer addition. The snappyHexMesh code is by far the most complicated out of anything in OpenFOAM, so it’s not a simple matter to just go inspect the code to figure out what’s going on.
To that end, I’ve produced an automated test to go through all the layer settings and see what happens when they’re modified. The goal was a geometry with some of the features that have caused me trouble in that past: acute and 90 degree corners, features at an angle to the background mesh, etc.
In the below images, white regions indicate full layer addition, while blue-black colours indicate fewer or no layers have been added. The goal is for the whole thing to be white, without compromising too much on mesh quality
The code used to generate all these images can be found in this repository.
If you make use of it and discover anything interesting about snappyHexMesh, please let me know :)
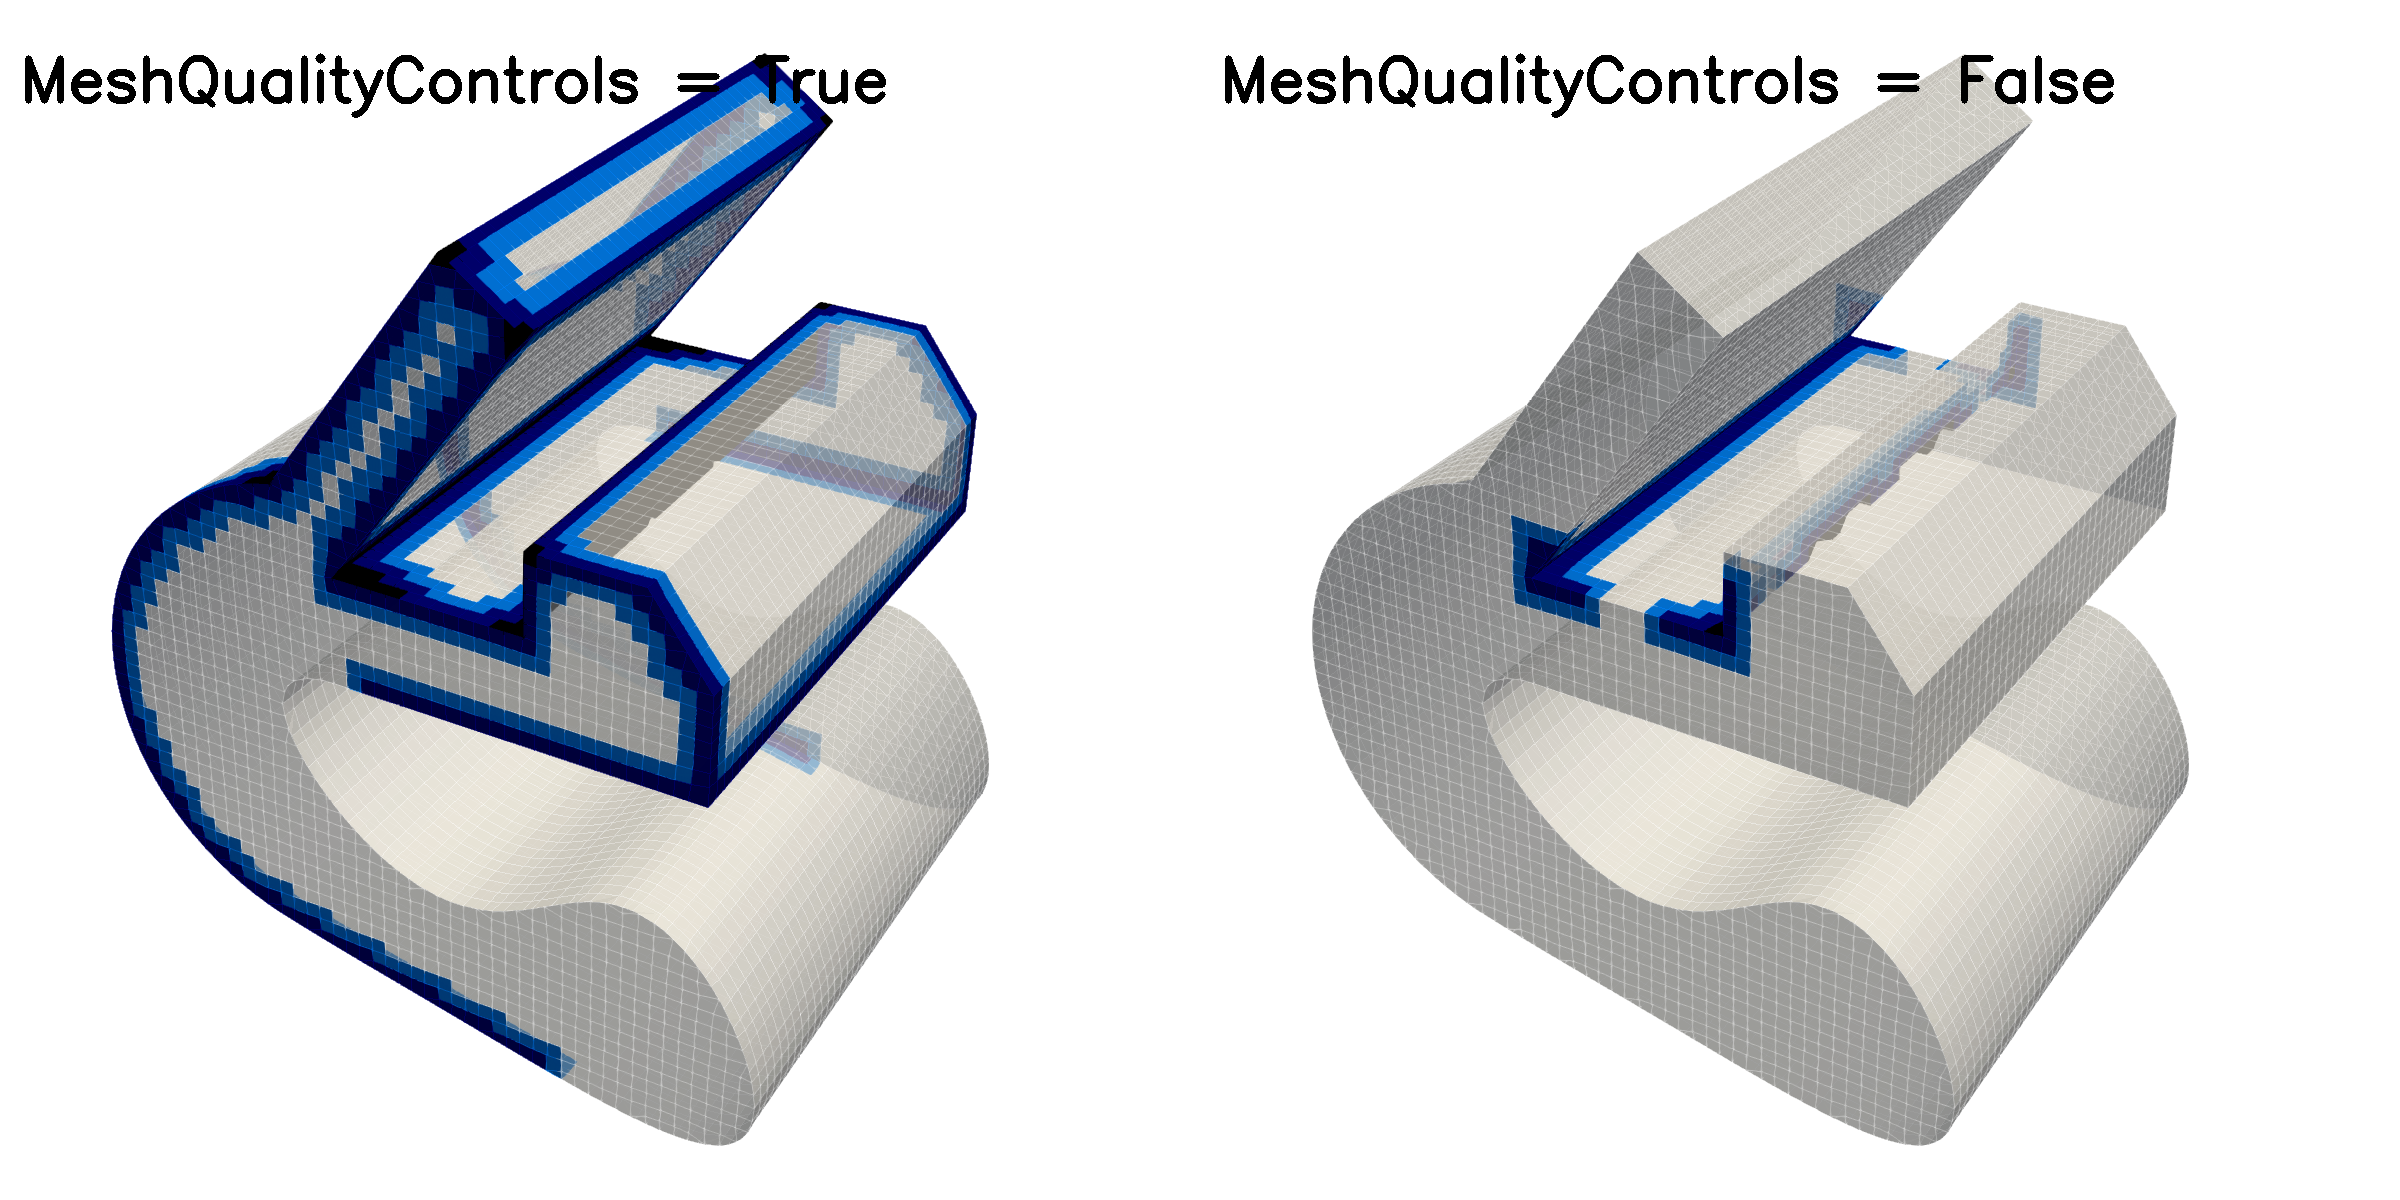
First up, I tested what happens with all the mesh quality controls disabled.
The result is better layer coverage, which isn’t too surprising. The goal is to get as good layer coverage as we can without having to disable or significantly wind back the quality controls.
For the rest of the tests below, mesh quality controls are left as their defaults.
featureAngle: Adjusts whether layers should collapse at sharp corners. Unsurprisingly, higher angles result in better layer coverage.

maxFaceThicknessRatio: no effect in this case

maxThicknessToMedialRatio: These medial ratio settings have to do with layer extrusion at corners.


minThickness: This one really surprised me.
I’ve always set minThickness to a low value, as I don’t typically mind if my layers are a bit thin.
So, I set the minThickness really low, expecting that it won’t prevent layers being added (and relying on the min determinant quality control to prevent any super thin cells).
Weirdly, very low values of minThickness result in worse layer addition for some reason…

nGrow: Not too much complicated here, leave nGrow at 0.
It must have some purpose, but for my applications it completely messes up the layers

nSmoothNormals: has minimal effect on the layer coverage

nSmoothSurfaceNormals: 3-10 range seems to be the goldilocks zone, 0-1 is a bit worse, 30 is worse in different places.

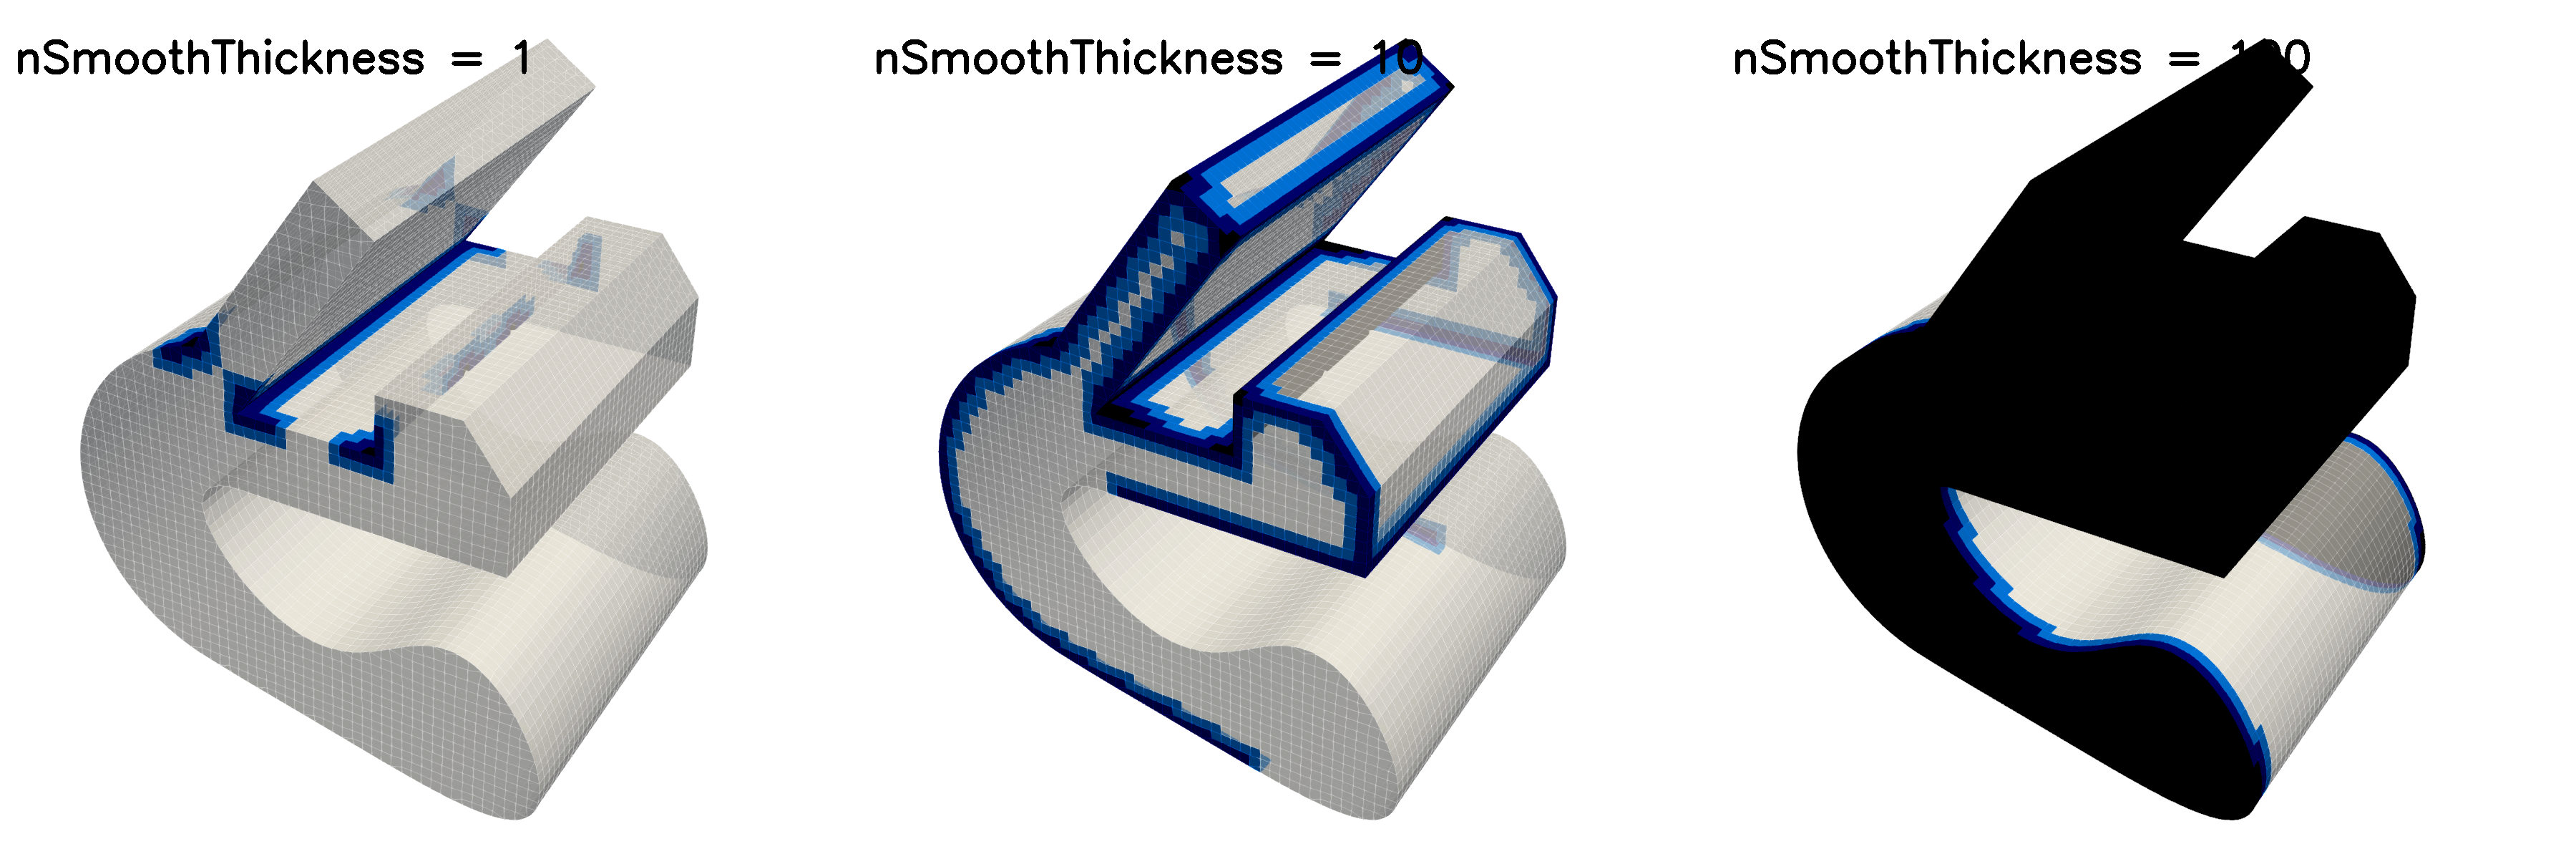
nSmoothThickness: Was surprised by this one, higher values produce worse coverage, and really bad coverage if you crank it up
And finally, I took the best result from each of the above tests to compile the ultimate layer settings for this particular case:
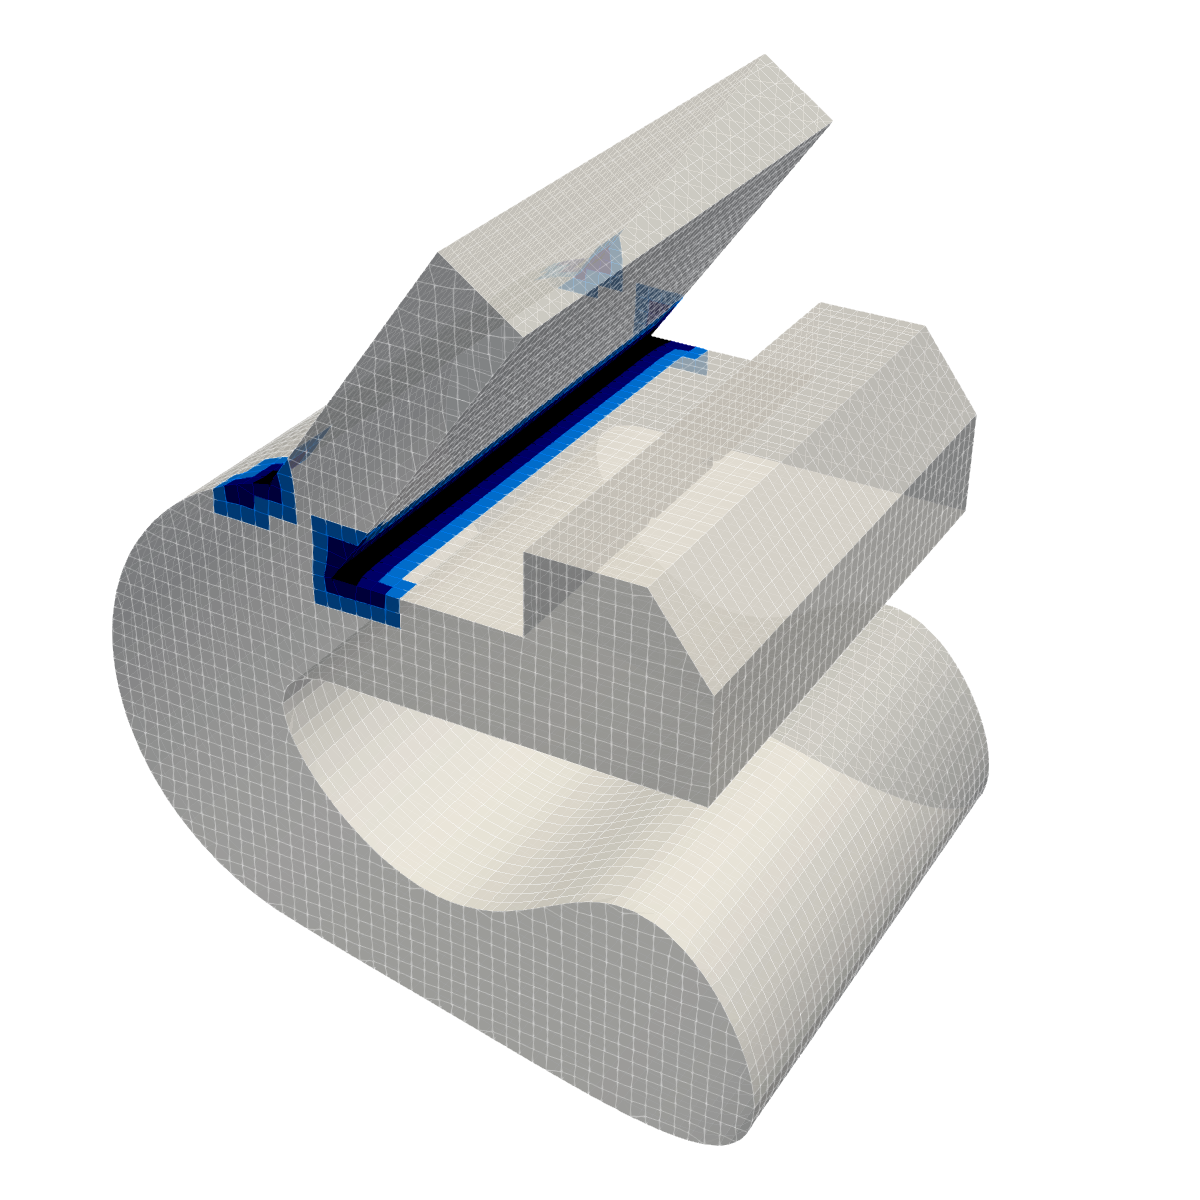
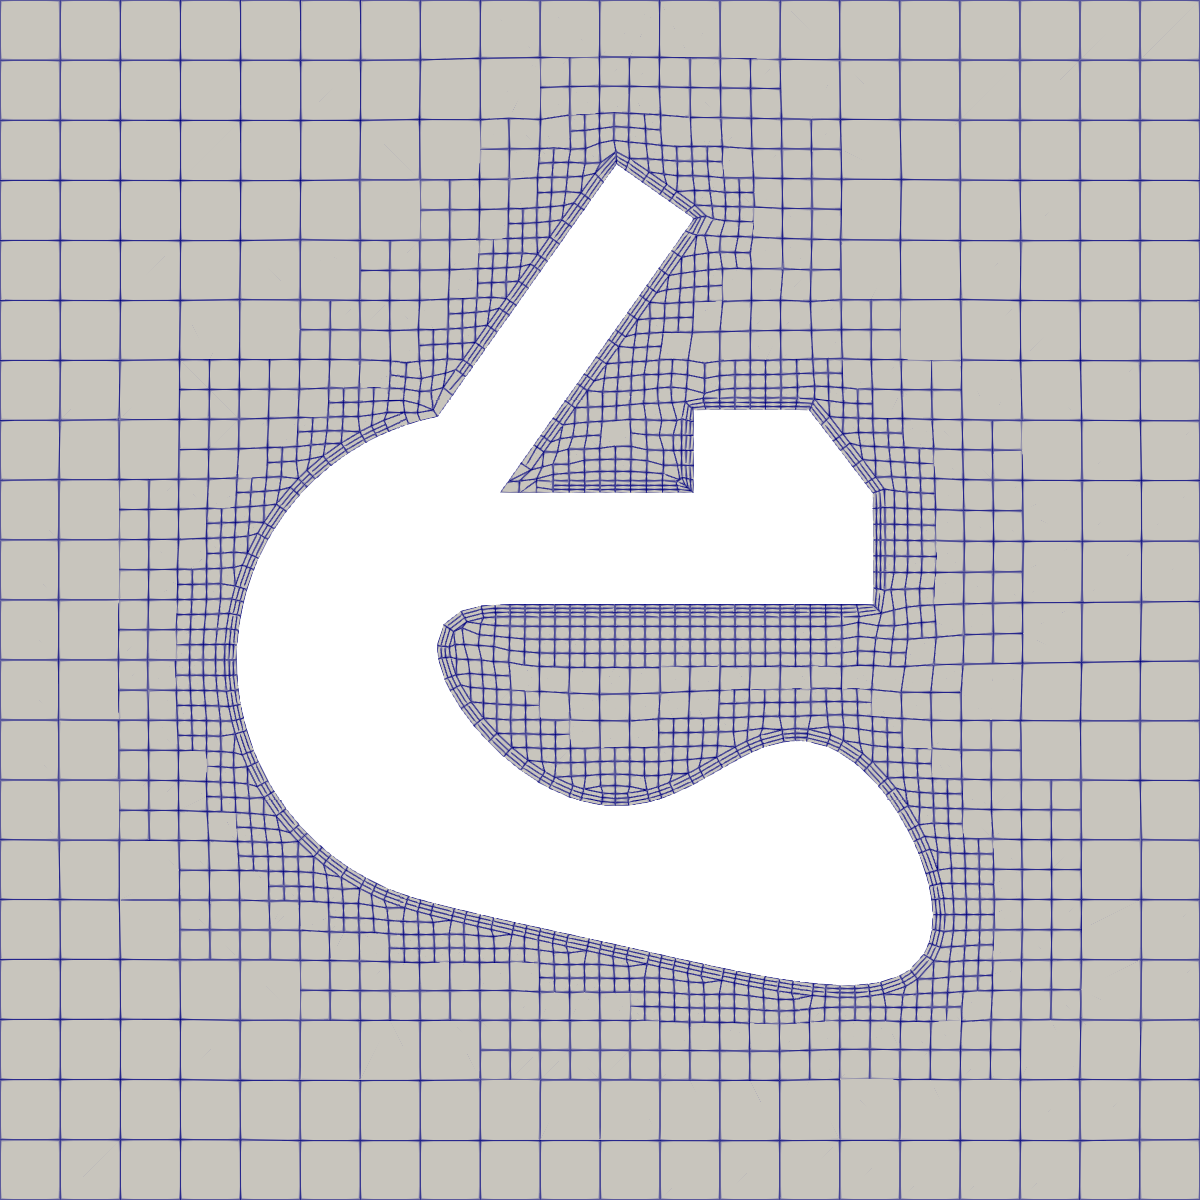
And after all of that, it’s barely better than some of options above where only a single option was changed.
It is definitely an improvement though, for instance it has managed to produce layers covering the edge that hasn’t quite snapped properly, where none of the individual setting changes were able to do that.
The acute corner remains a challenge, which I expected.
What I didn’t expect was that it would be so difficult to get full coverage where it transitions from the curved surface into the angled feature.
The final settings were:
| Setting | Value |
|---|---|
| featureAngle | 180 |
| maxFaceThicknessRatio | 1 |
| maxThicknessToMedialRatio | 1 |
| minMedialAxisAngle | 30 |
| minThickness | 0.1 |
| nSmoothNormals | 1 |
| nSmoothSurfaceNormals | 3 |
| nSmoothThickness | 0 |
So Where To From Here
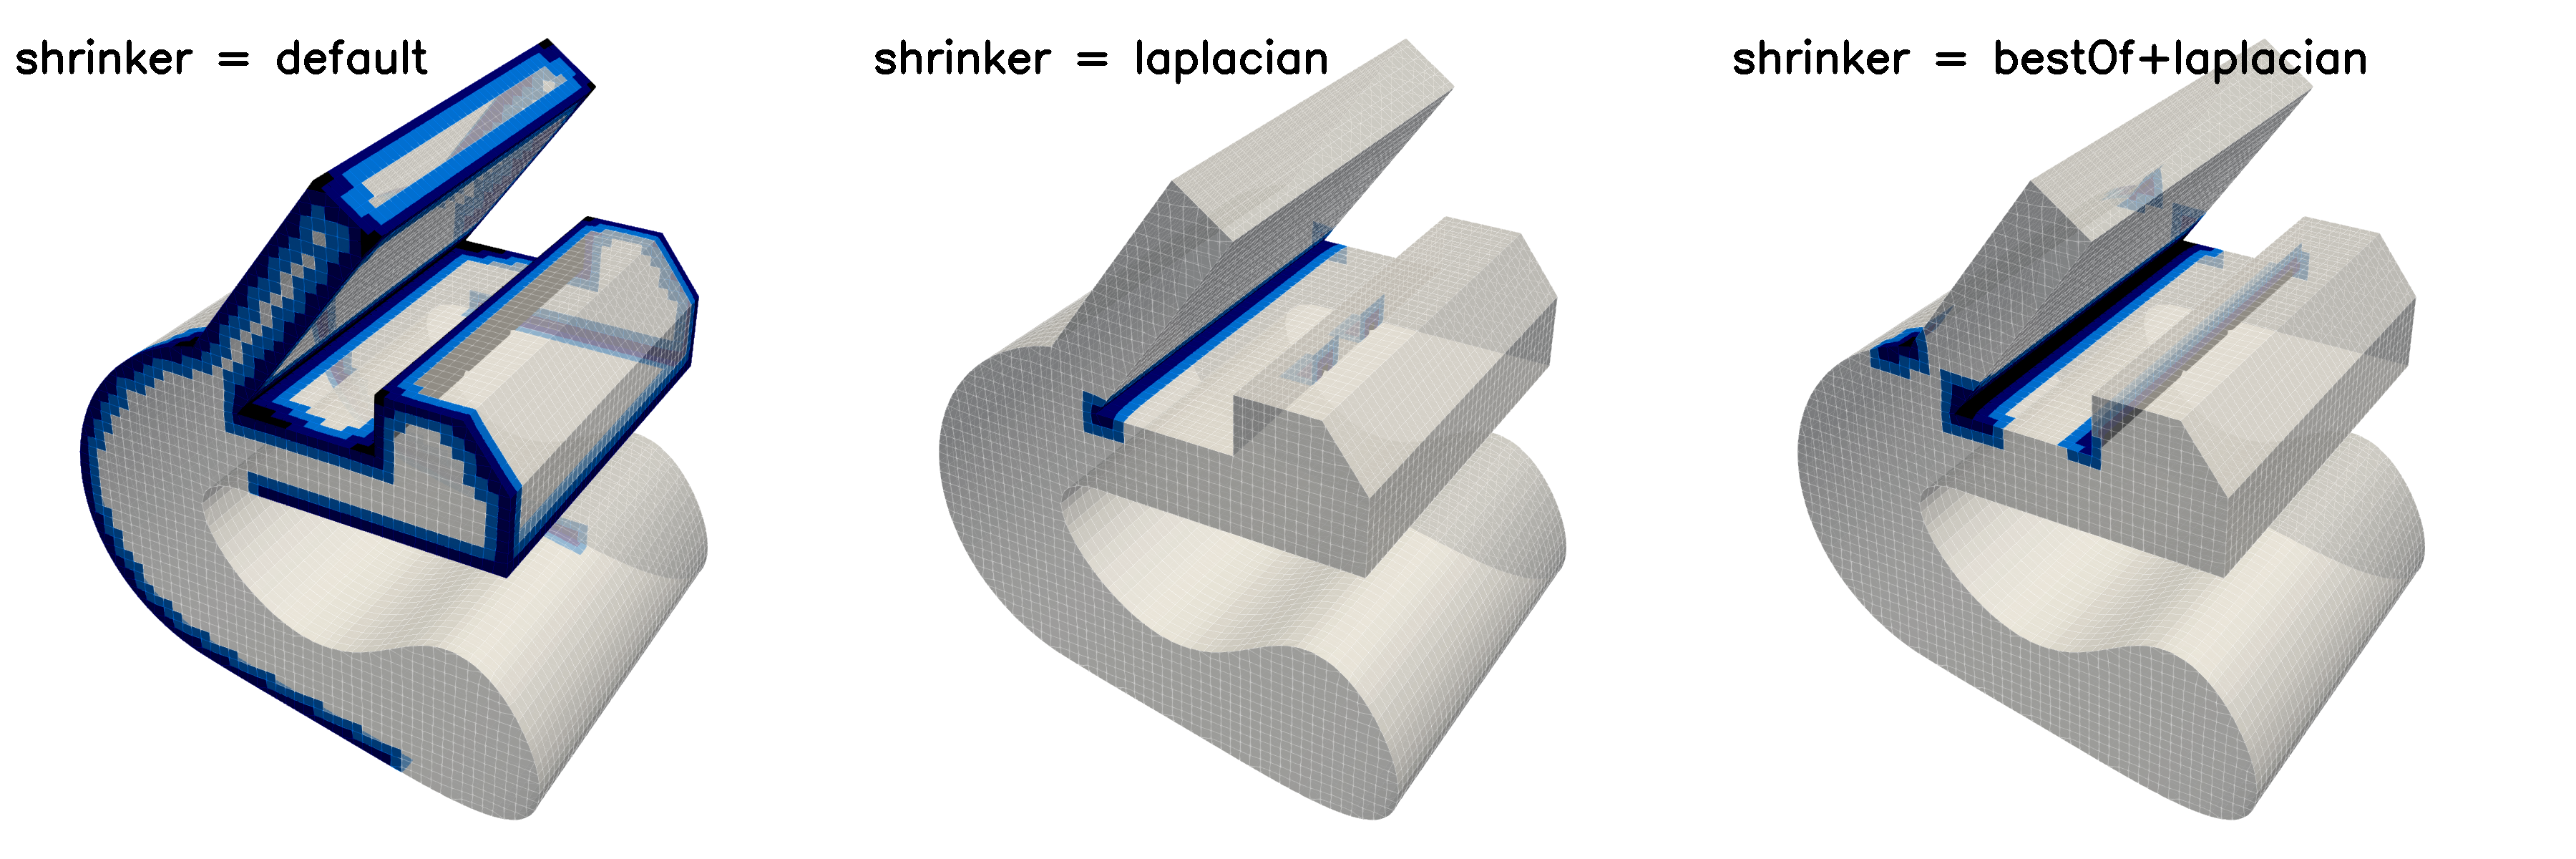
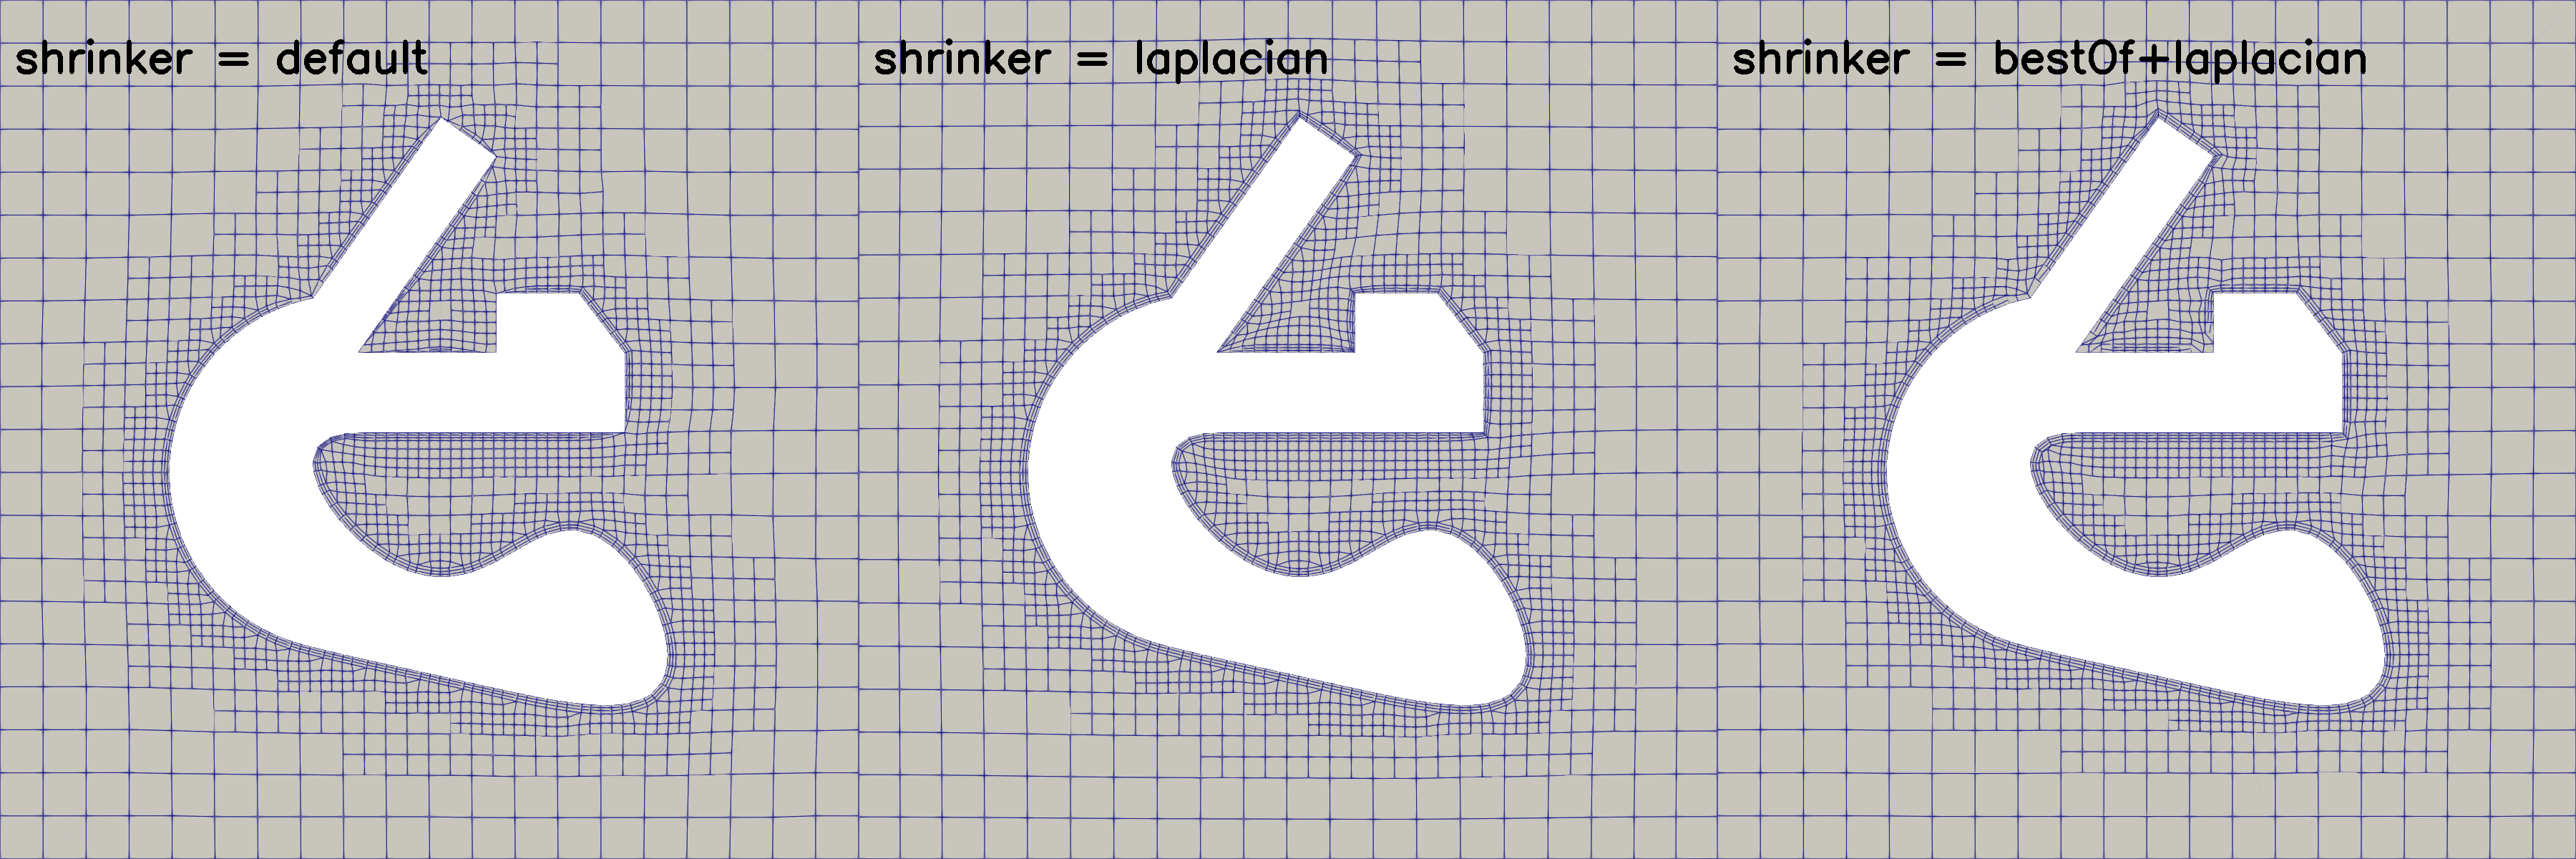
Jumping over to the ESI fork of OpenFOAM, we can make use of the alternate mesh shrinking algorithm, which is based on the algorithm used to move meshes around for dynamicMesh cases.
Enabling the displacement motion solver, using default snapping settings, with diffusivity set to quadratic inverseDistance, produces the following result
Interestingly, if we try using the Laplacian shrinker with the ‘bestOf’ settings from before, there isn’t much improvement (and it’s worse than laplacian + default settings)
Make of that what you will
